Anyone who owns a smartphone or tablet will be used to the idea of interacting with devices using a touchscreen. For users of Windows, however, it is something of a novelty. Touchscreen interaction has been supported in Windows for a while, but it is only since the release of the Surface RT and Surface Pro running Windows 8 that there has been a real push behind it.
Working with a touchscreen device, whether it is a Surface, a touchscreen monitor, or a convertible laptop/tablet combination, opens up a couple of new ways of interacting with Windows, and there are new settings and calibration options to explore.
Most people are going to be using their fingers to interact with on-screen items, but there is also potential for working with a stylus. We’ll start by taking a look at the options that are specific to finger operation of Windows.

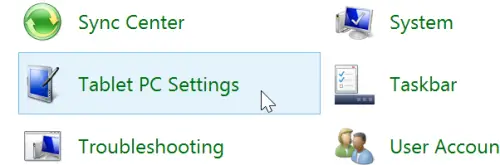
You can start off by indicating how you are going to use your touchscreen. Open up the Control Panel by pressing the Windows key and C at the same time and then click Settings followed by the Control Panel link. Double click, or tap, the Tablet PC Settings icon.
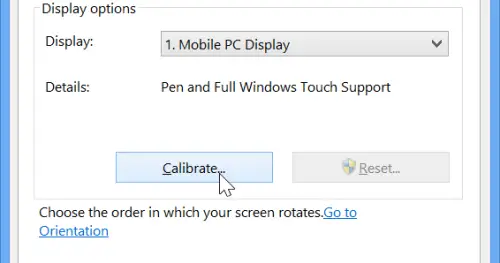
On the Display tab, click the Setup button and you can then choose between using Pen or Touch input – just click the appropriate link. You’ll then have to tap the screen with your finger or stylus to confirm your choice.

Whichever method of operation you’ve chosen, you can increase the accuracy of presses by running through calibration. Click the Calibrate button on the Display tab and you will then have to specify whether you want to calibrate touch or pen input.
The process is the same no matter which option you choose – the only difference is using your finger rather than a stylus, or vice versa – and to proceed you’ll need to click Yes in the User Account Control dialog that appears.
Tap the screen in each of the 16 points when asked to do so and then click Yes to save the new calibration data. If you find that touchscreen behaviour is erratic, you can simply run through calibration in the same way once again, or you can click the Reset button to revert to the default settings.
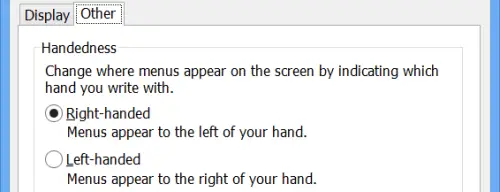
There aren’t many other settings to concern yourself with here, but if you move to the Other tab you can change where menus appear when you tab the screen. Select the Right-handed option and menus will appear to the left of where you tap, select Left-handed and they’ll appear to the right.
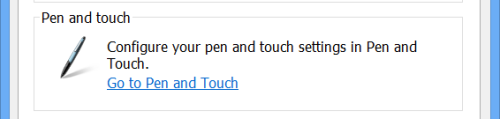
Additional options can be accessed through the Pen and Touch applet which you can launch by clicking the link on the Other tab of Tablet PC Settings, or by manually launching the applet from the main Control Panel.
The first two tabs, Pen Options and Flicks, feature options specific to pens. Double-taps are used as the equivalent of double clicks, and pressing and holding a stylus on the screen acts as a right click. Both of these actions can be customised by selecting one of the two from the list and then clicking the Settings button.

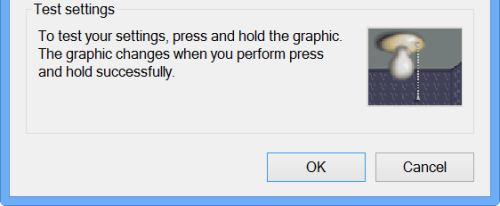
For both actions you can adjust the speed at which it needs to be performed as well as the size of the area that can be used to activate the action. Just move the appropriate sliders to the left and right and test your settings by clicking in the Test Settings section at the bottom of the dialog.
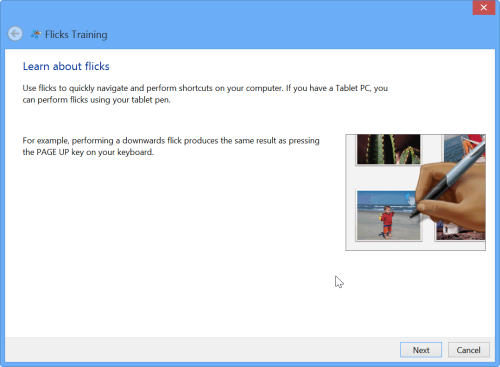
Moving to the Flicks tab you can configure shortcuts that can be performed with on-screen gestures. By default, there are four gestures available to you, but if you select the Navigational flicks and editing flicks option you can gain access to four more.

The four extra gestures provide easy access to the delete, copy, paste and undo options by default, but these can be changed by clicking the Customize button. You can then use the eight drop down menus to choose what each of the directional flicks does.

This is a great way to gain quick and easy access to the features you use most frequently, but if you get a little carried away, things can be put back to normal by hitting the Restore defaults button.
Flick gestures can take a little getting used to, but you can try your hand at them by clicking the Practise using flicks link at the bottom of the Flicks tab of the Pen and Touch dialog.
There is one remaining tab to explore – Touch. This includes much the same options as the Pen Options tab and can be used to customize the sensitivity of touch double taps and right clicks.
But perhaps the best thing about using a touchscreen device is handwriting recognition. Tap the system tray icon to call up the on-screen keyboard, tap the keyboard button to the lower right and then click the third icon in the little popup.
With this done, you can then start to write on the screen using your stylus. You may well be surprised at just he accurate it can be.

Spend just a little time working with Windows 8 in touchscreen mode and you could well fall in love with the operating system all over again.

nice post recently i got my new Windows 8 powered tablet from my uncle as a gift and now i am going to apply this tutorial on that tablet to get the most out of my touch screen in windows 8…
Great. Feel free to share your own views after that. 🙂
Can this work on a windows 8 touchsreen laptop?